How to Test for Mold in Your Crawl Space: A Step-by-Step Guide
If you’re wondering how to test for mold in a crawl space, the short answer is: start with a careful visual and moisture assessment, then choose the right sampling method (surface, air, or dust) and send samples to a qualified lab. The longer answer—how to do each step safely and accurately—follows below so you can avoid false alarms, wasted money, and lingering problems.
TL;DR: When & How to Test
- Test if you notice: a musty smell in the crawl space or living areas, dark or fuzzy discoloration on joists/insulation, past water intrusion, or relative humidity consistently above ~60%.
- DIY vs. Pro: A
DIY crawl space mold test kit can confirm what’s on a surface and provide limited air data; hire a
professional mold inspection if growth is widespread, there’s standing water, structural concerns, or health sensitivities.
- Pick methods wisely:
- Surface sampling (tape lift or swab) to ID what’s growing.
- Air sampling (with outdoor control) to compare spore levels.
- Dust/ERMI-style sampling to understand historical water damage.
Why Crawl Spaces Grow Mold (and Why Testing Matters)
Crawl spaces are cool, often damp, and poorly ventilated—ideal conditions for mold. Common moisture sources include ground vapor, poor perimeter drainage, plumbing leaks, and condensation on wood or ducts. The stack effect can draw crawl space air upward into living areas, affecting crawl space air quality and potentially aggravating allergies to mold spores. Testing helps you separate “normal” background spores from water-damage indicators so you can plan effective crawl space mold remediation if needed.
Safety First
Before any DIY crawlspace testing:
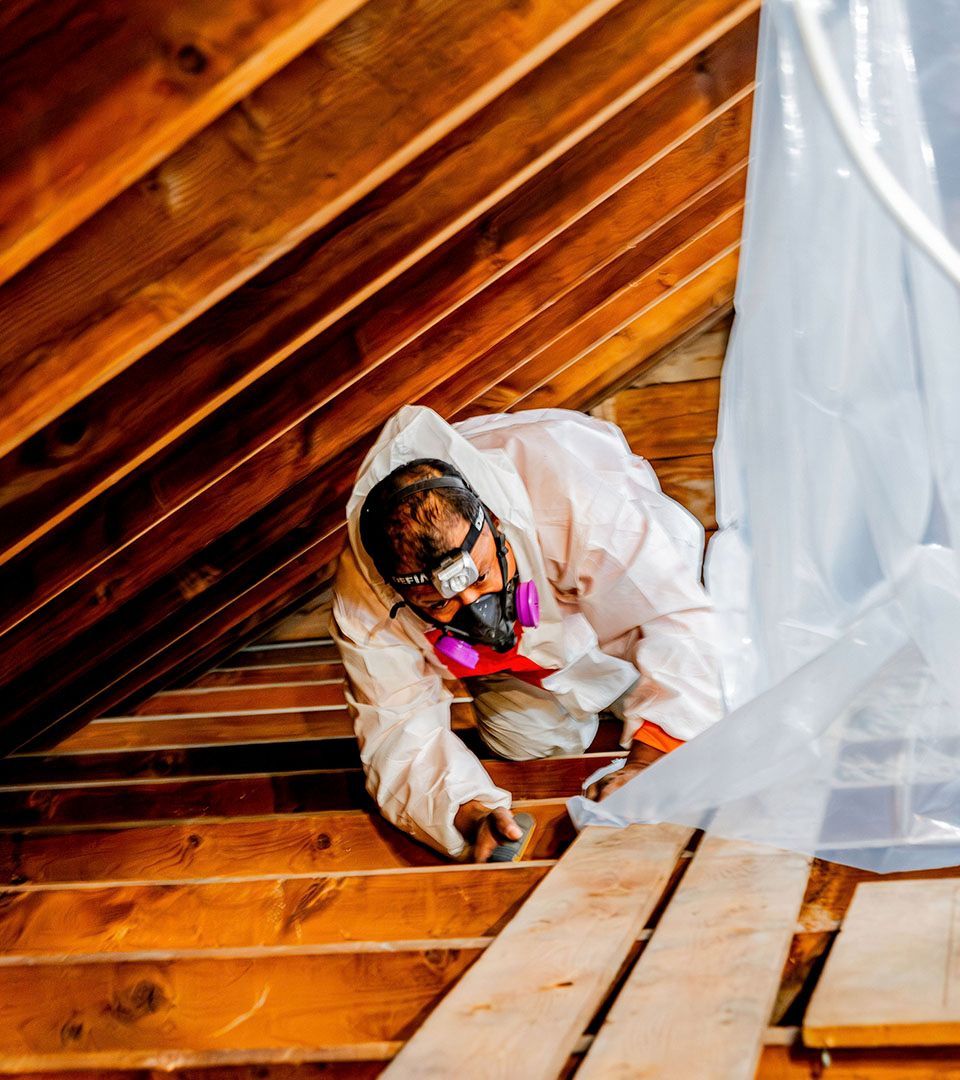
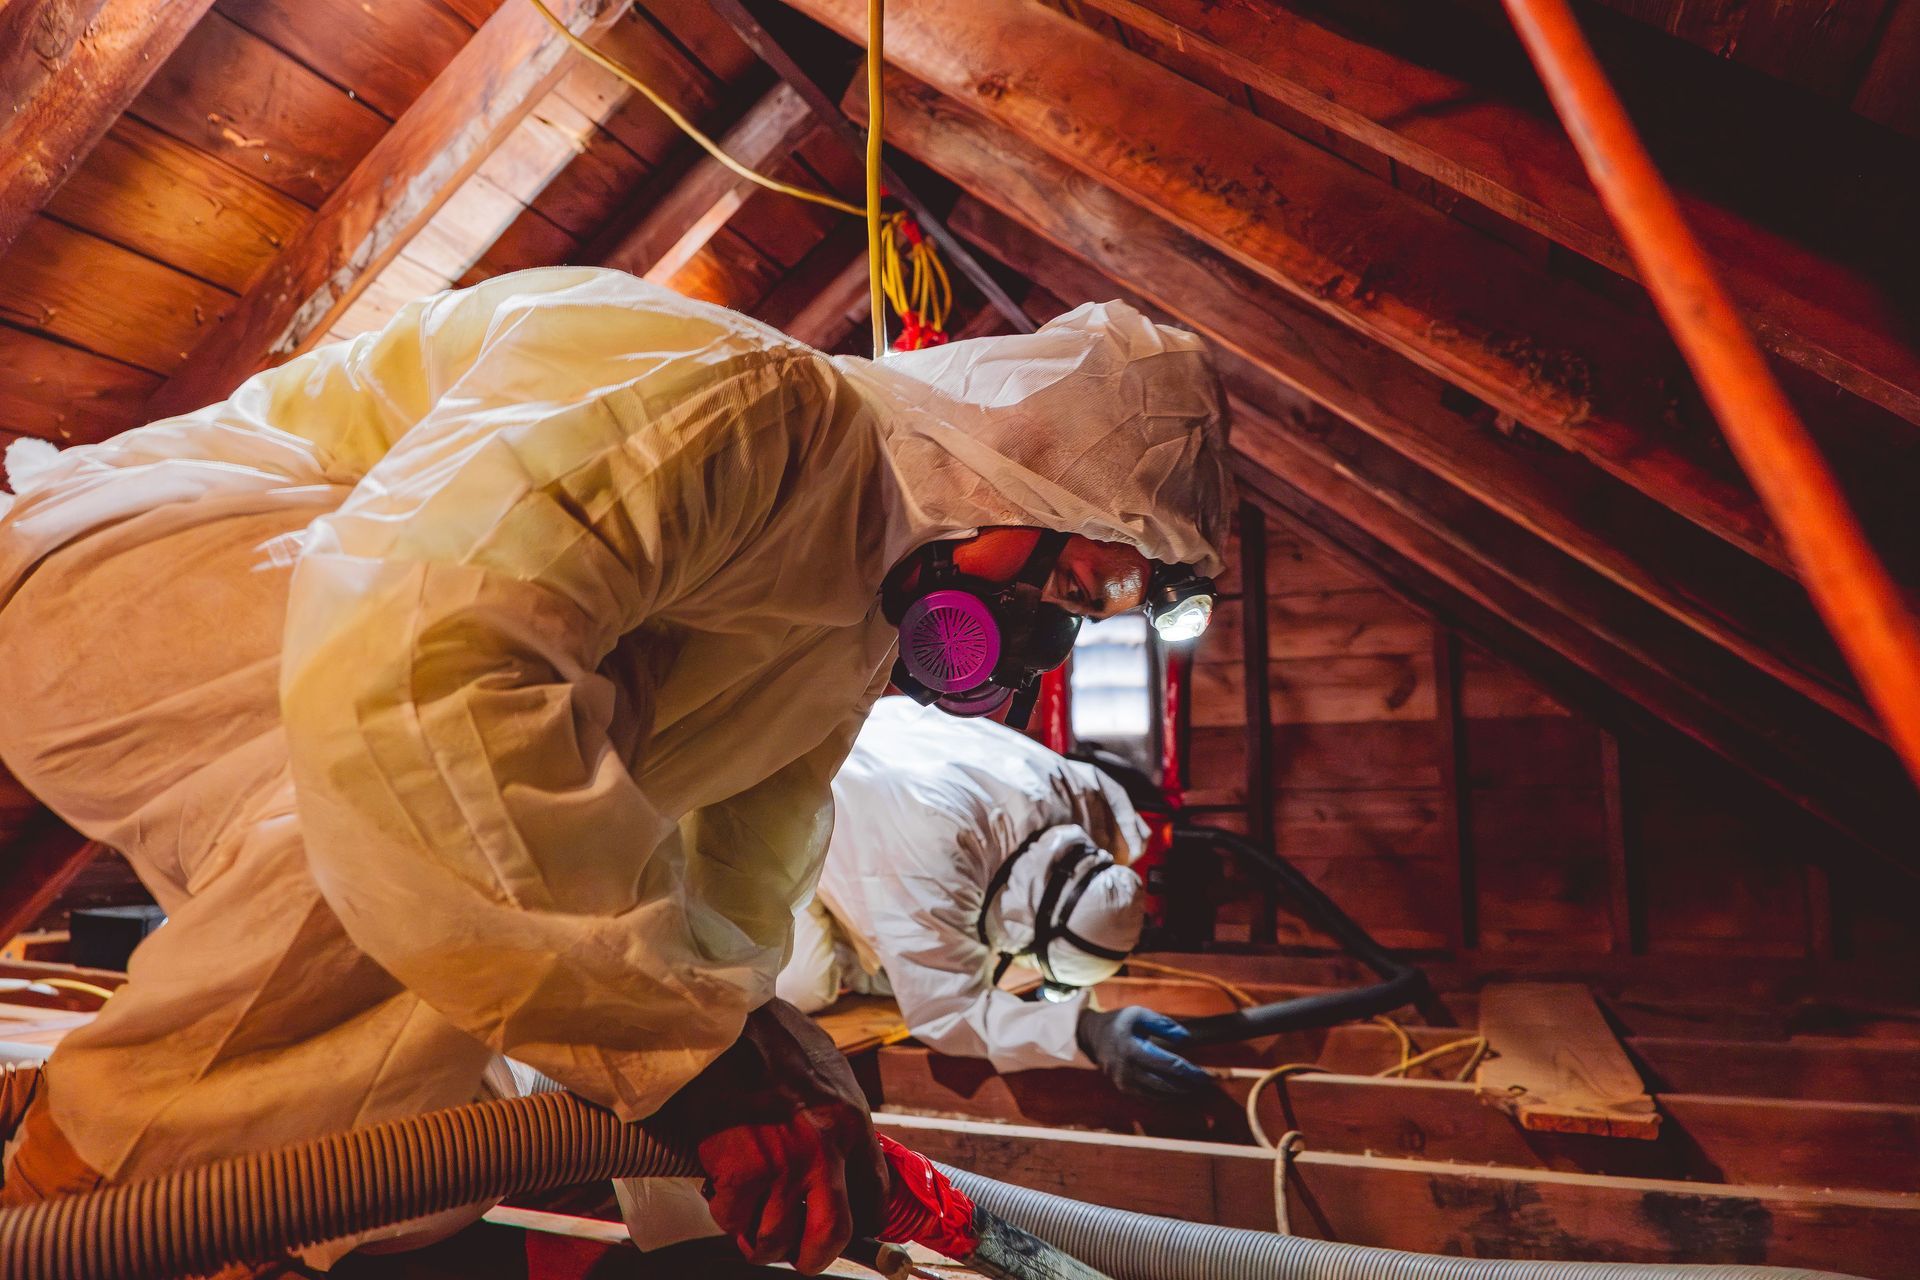
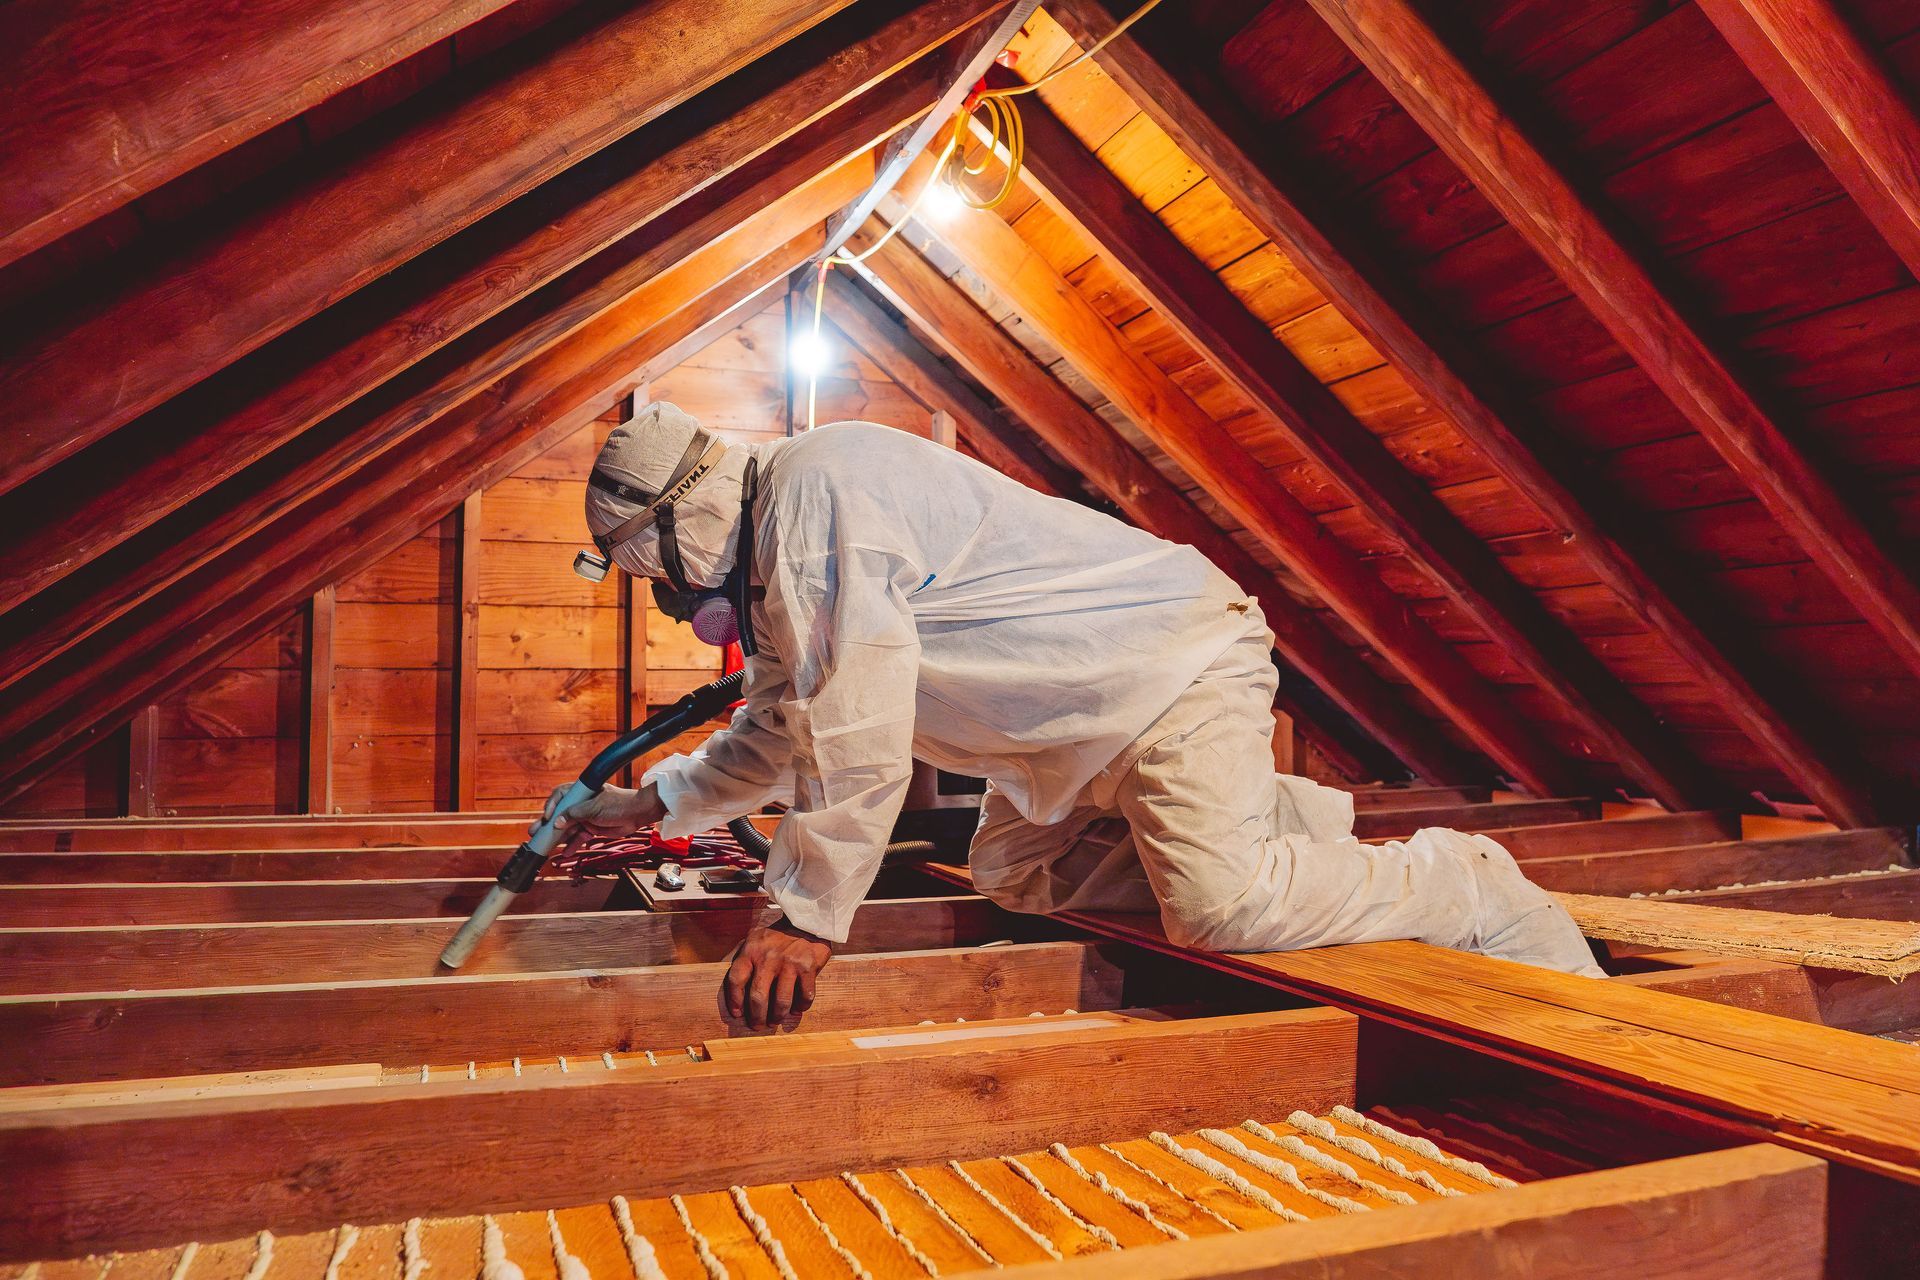
- PPE: gloves, eye protection, and an
N95 respirator (or half-face respirator with P100 filters). Disposable coveralls are a plus.
- Do not DIY if there’s: extensive visible growth,
standing water, live electrical hazards,
compromised structure, evidence of
black mold in the crawl space across large areas, or if anyone in the home is medically vulnerable. In these cases,
call a professional.
Pre-Test Assessment
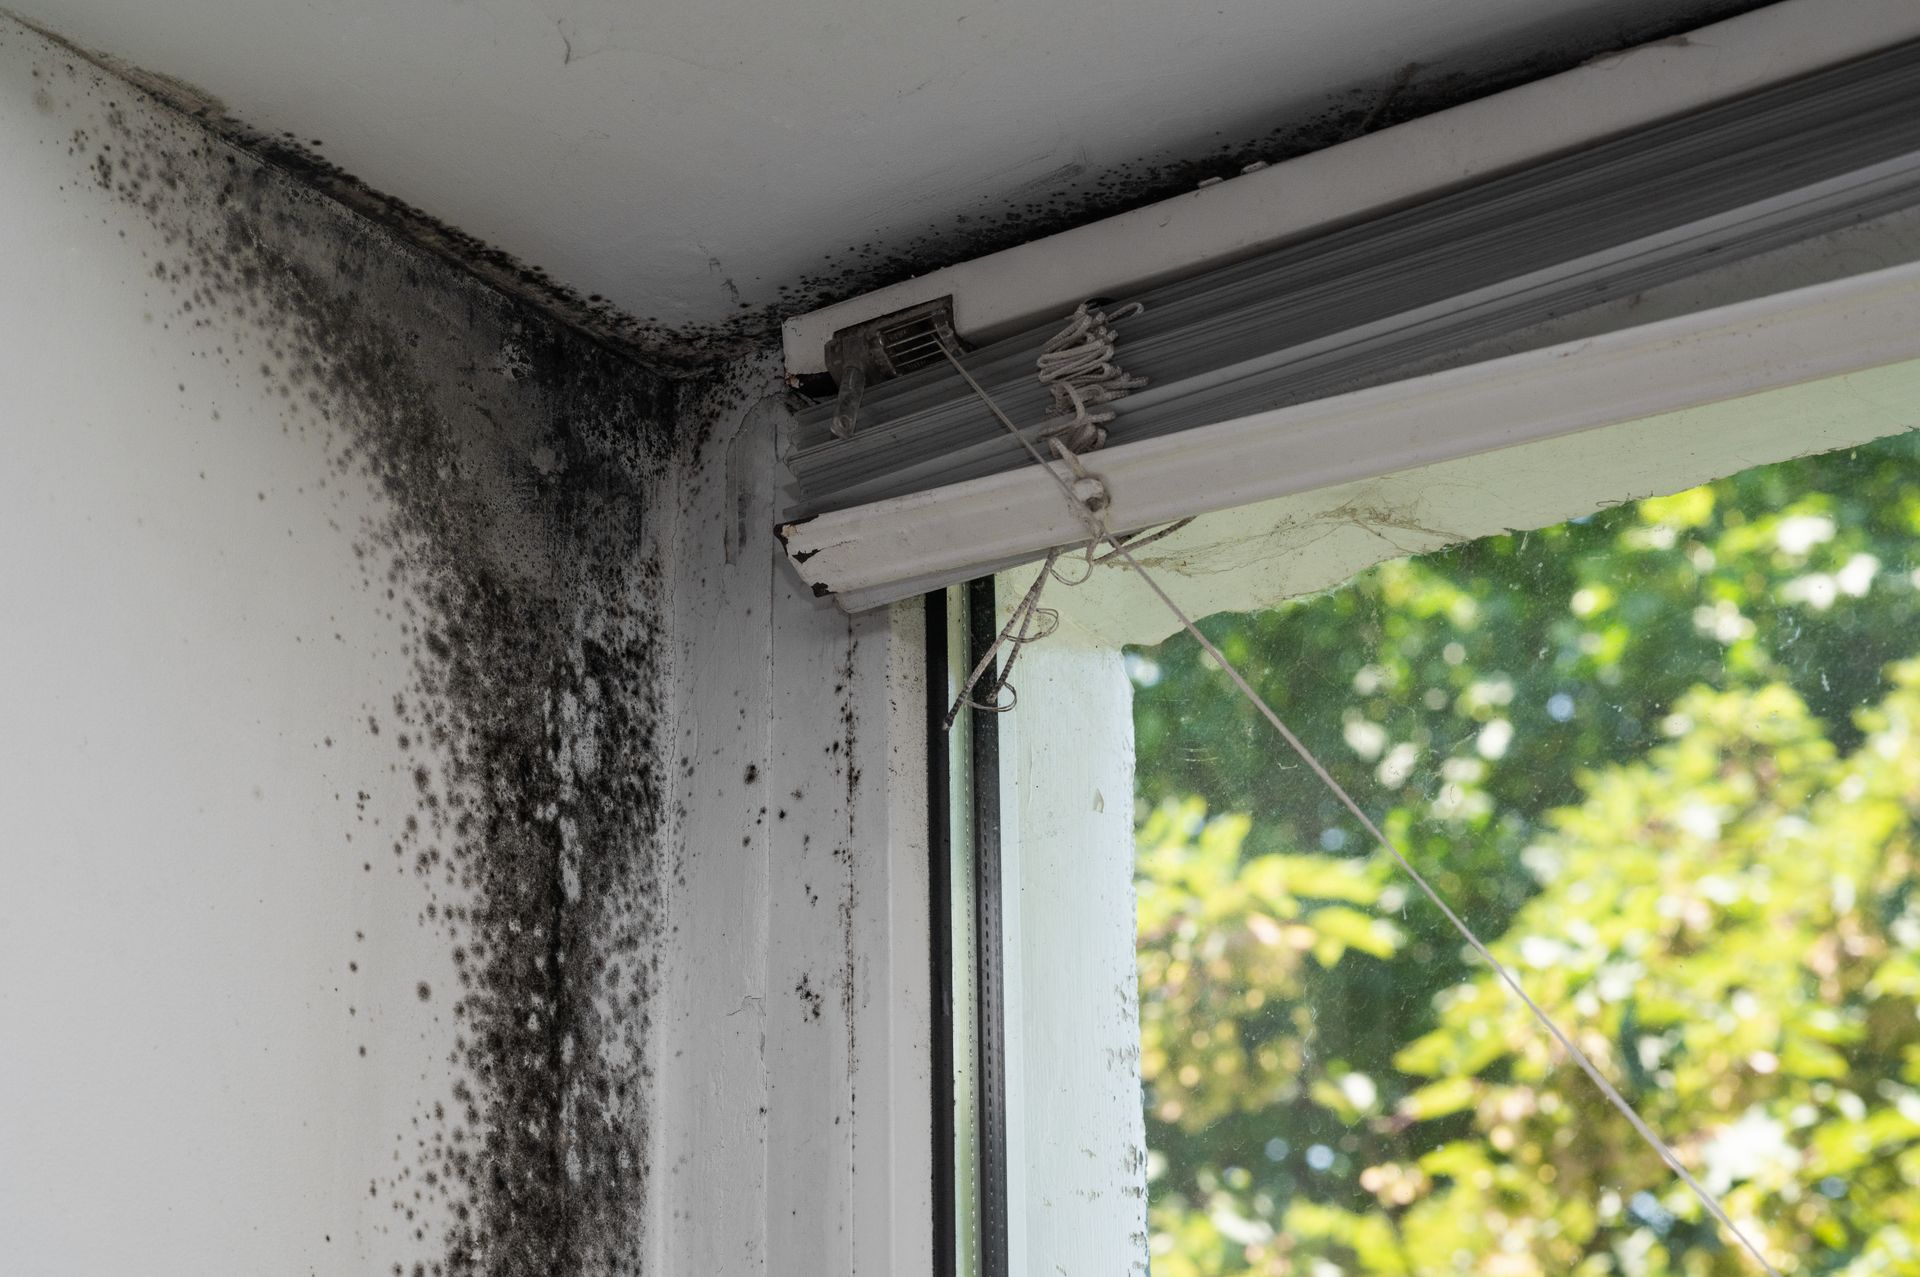
- Visual clues: Look for wood staining, fuzzy growth, efflorescence on foundation walls, rusted metal, or insulation mold.
- Odor check: Note where a
musty smell in the crawl space is strongest—this can guide sample locations.
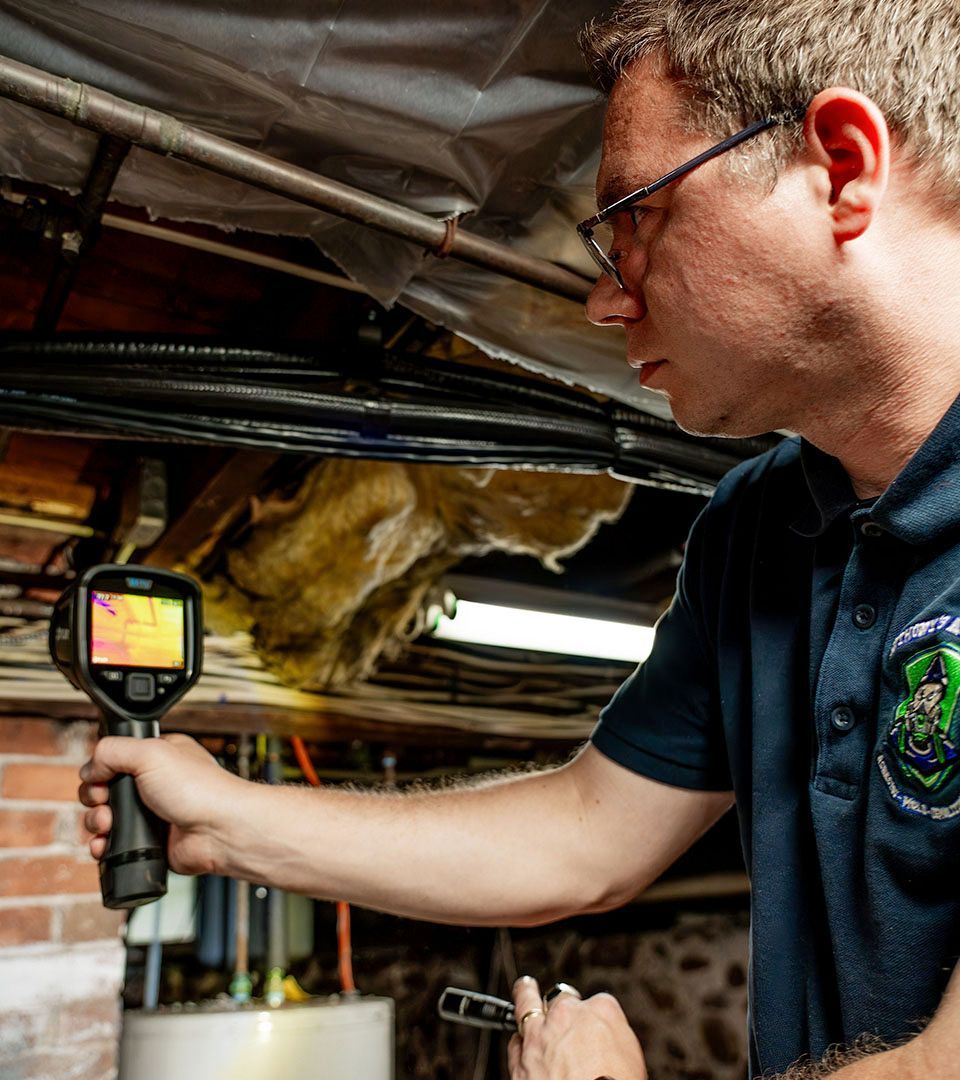
- Moisture diagnostics:
- Hygrometer: log relative humidity; crawl space humidity levels for mold risk typically rise above ~60%.
- Moisture meter: check wood
%MC; elevated readings indicate conditions conducive to growth.
- Photo log & notes: Mark areas for sampling (underside of joists, sill plates, insulation facers, top of joists).
Tools & Materials You’ll Need
- Bright flashlight/headlamp, plastic sheeting or clean paper, tape, zip bags, permanent marker.
- Moisture meter and
hygrometer (or data logger).
- DIY test options:
- Surface sampling crawl space:
tape lift mold test or
swab test for mold.
- Air sampling crawl space: low-flow pump + spore trap cassettes (with outdoor control).
- Dust sampling: ERMI/HERTSMI-style collection for historical patterns.
- Chain-of-custody and
lab submission forms from your chosen lab.
Testing Methods Overview (Choose the Right Fit)
- Surface sampling (tape vs. swab):
- Tape lift is fast, great for fragile surfaces.
- Swab can be better for textured/soiled areas.
Use these to confirm if discoloration is mildew vs. mold, and to identify species like Stachybotrys (often called “black mold”). - Air sampling:
Compare indoor (crawl space) to outdoor at the same time. Use consistent flow and duration. Air data shows current airborne spores, but remember: a clean-looking crawl space can still have spikes during disturbance, and air results vary with conditions. - Dust (ERMI-type) sampling:
Collect from undisturbed locations to understand history of water damage and chronic issues. Dust data complements air and surface results. - Bulk samples:
Small fragments of suspect material when surface sampling isn’t feasible.
Decision guide:
- Visible growth? Start with
surface sampling + moisture readings.
- No visible growth but strong odor or symptoms? Add
air sampling with an outdoor control.
- Recurring issues or past floods? Include
dust sampling for historical context.
Step-by-Step: Surface Sampling in a Crawl Space
- Prep: Lay clean plastic/paper below the sampling area to catch debris and reduce cross-contamination.
- Select spots: Focus on representative and worst-looking areas—joist undersides,
sill plates,
insulation facers, and HVAC or plumbing-adjacent areas.
- Collect:
- Tape lift: Press clear tape onto the area; lift and place onto a clean slide/card per kit directions.
- Swab: Gently roll the swab across a 1–2 in² area; reseal in sterile tube.
- Label: Date, time, location, material, and your initials.
- Package & ship: Follow the kit’s chain-of-custody and
where to send mold samples instructions. Keep cool/dry as directed.
Step-by-Step: Air Sampling in a Crawl Space
- Outdoor baseline: Always collect an outdoor control sample first.
- Set up pump: Calibrate to the lab’s specified flow rate.
- Duration & number: Follow cassette/lab guidance; larger or segmented crawl spaces may need multiple samples (e.g., by zones).
- Handle cassettes carefully: Cap immediately after sampling.
- Seal, document, ship: Complete chain-of-custody and ship per lab instructions.
Optional: Dust Sampling for Historical Insight
- Where to collect: Undisturbed ledges, tops of joists, or poly/vapor barrier surfaces that haven’t been recently cleaned.
- Value: Highlights long-term patterns that
air sampling might miss, useful for
baseline vs. post-test results comparisons after remediation.
Interpreting Lab Results (Without Over- or Under-Reacting)
- Read the report: Note spore types and mold spore count or categories (e.g., elevated vs. background). Look for common water-damage indicators (certain Penicillium/Aspergillus types, Stachybotrys, Chaetomium).
- Compare: Crawl space samples vs.
outdoor control and against your moisture/visual notes.
- Context matters: Slight elevations without moisture issues might reflect disturbance. Consistently high levels alongside high
RH or wet wood indicate an active source.
- Petri dish mold test accuracy: Settle plates are easy but can be misleading. They skew toward heavy, fast-growing spores and cannot quantify total airborne load reliably.
When results indicate elevated levels alongside moisture problems, it’s time to act.
What to Do If You Confirm Mold
- Fix sources: Improve drainage, repair leaks, add/repair vapor barrier, and consider encapsulation and a dehumidifier for crawl space (or conditioned air) to keep RH in the 45–55% range.
- Containment basics: Seal access hatches and protect living areas; avoid running HVAC that could draw crawl space air into the home during cleanup.
- Cleaning methods:
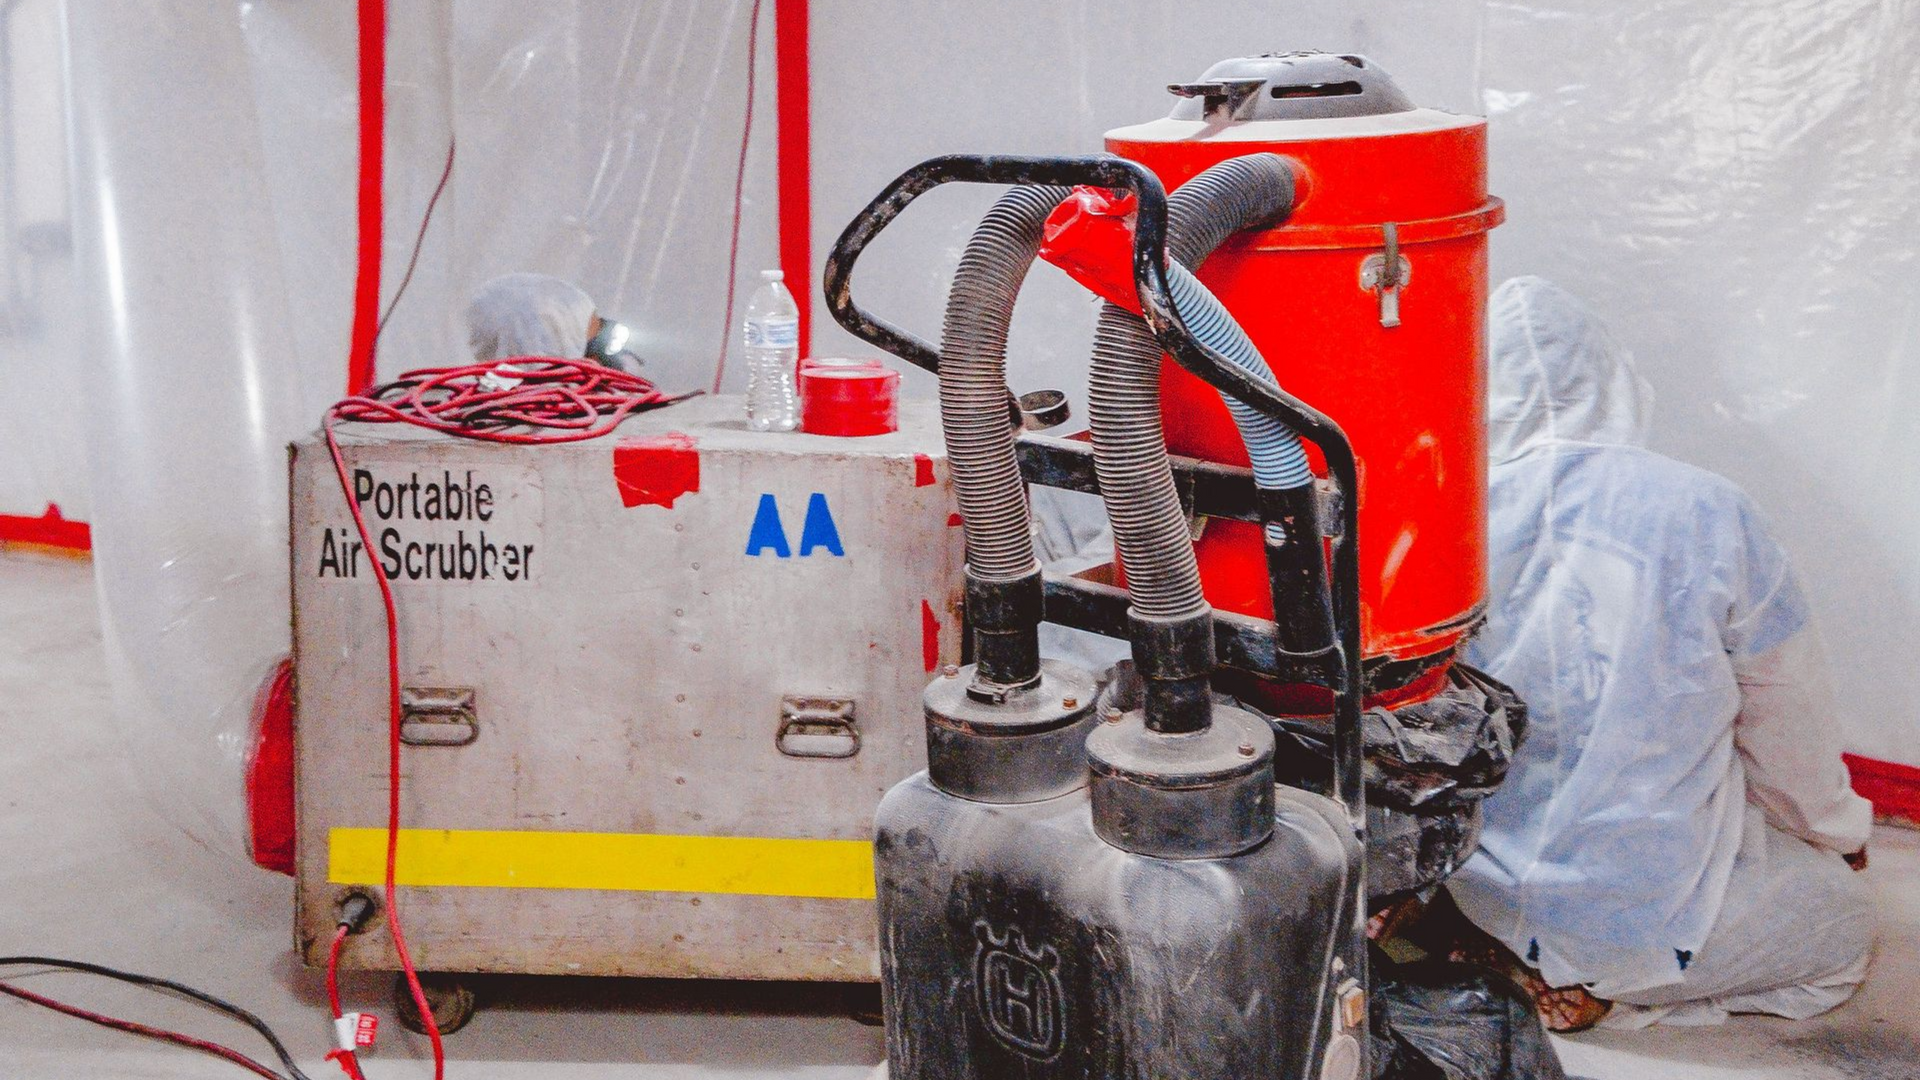
HEPA filtration/air scrubber and HEPA vacuuming, gentle agitation, and appropriate cleaning solutions for non-porous/semi-porous materials.
- Material removal: Severely contaminated
porous materials (e.g., certain insulations) may need removal; semi-porous wood may be cleaned and, if appropriate, lightly abraded/sealed after drying—per professional guidance.
When to Call a Professional
- Widespread growth, recurring moisture or water intrusion, structural damage or wood rot, or involvement of HVAC/ductwork.
- Significant health sensitivities,
real estate transactions, or
insurance requirements.
- If you need
post-remediation verification testing and a formal report.
Post-Remediation Verification
- Re-test strategy: Repeat the same methods (and locations/zones) used for baseline—e.g., surface + air with outdoor control.
- Timing: After drying, source control, and cleaning are complete.
- Acceptance: Normalized spore types/levels, dry materials, and no visible growth or odors—documented with photos and moisture readings.
Preventing Mold from Coming Back
- Encapsulation & sealed vapor barriers to block ground moisture.
- Maintain
crawl space humidity thresholds below ~60% (target 45–55%); monitor with a
hygrometer.
- Address
condensation on ducts and pipes with insulation and air sealing.
- Choose appropriate insulation types and ventilation/conditioning strategy.
- Seasonal checklist: After heavy rains or seasonal shifts, re-check RH, look for leaks, and inspect barriers, sump pumps, and crawl space ventilation paths.
Ready to get clear answers?
Not sure which DIY crawl space mold test fits your situation—or whether you should bring in a pro? Anthony’s Abatement offers a free phone consultation on test selection and next steps. We’ll help you choose the right method, interpret results, and prevent mold from returning.
Call now or request your consultation: We’re here to help you breathe easier.
