What To Do After a Water Leak In Your House?
After discovering a water leak in your house, you need to act quickly. Wood surfaces can experience intensified damage and mold growth if not addressed promptly. This guide outlines what to do after a water leak in house to minimize damage and begin the recovery process. From stopping the water to starting the drying process, we’ll guide you through each essential step.
Key Takeaways
- Identify and stop the water source immediately to prevent further damage.
- Document all damage thoroughly for effective insurance claims and recovery processes.
- Call a professional restoration contractor if the water damage is extensive, ensuring a thorough assessment and repair.
Identify and Stop the Water Source
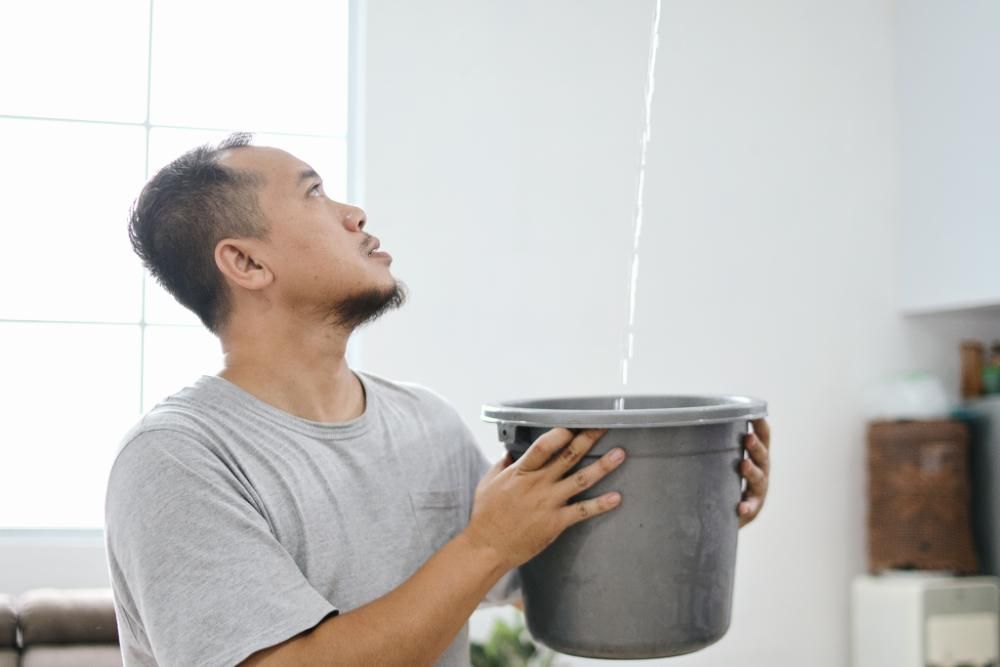
When you discover a water leak, immediately identify and stop the water source. This might seem obvious, but in the chaos of the moment, it can be easy to overlook. Common sources of water leaks include rusty pipes, broken water connectors, and malfunctioning appliances like washing machines. Confirm the exact location of the leak because the visible signs might be far from the actual source.
After identifying the source, shut off the water supply at the main valve to halt any ongoing leaks and prevent further damage. Document the leak’s source for future reference and possible insurance claims. Photos or videos can be invaluable when dealing with your insurance company later on.
Once the water is stopped, take a moment to breathe. You’ve just tackled the first step in the water damage restoration process. How overwhelming water damage can be, but preventing excess water from spreading can save you from more severe damage.
Ensure Safety First
Safety is paramount when dealing with water damage. Water and electricity are a dangerous mix, posing life-threatening risks. Turn off the power and disconnect electronic devices in the affected areas. If water is near electrical outlets or appliances, quickly call a professional electrician before entering the area to prevent electric shock.
Wear protective clothing and rubber boots to shield yourself from water and any contaminants. This precaution helps avoid further mishaps during the restoration process.
Document the Damage
Documenting the damage is vital for filing an effective insurance claim. Capture images or videos of all affected areas and belongings, including visible signs of water damage like damp items and damaged wood. Comprehensive documentation is essential for insurance companies to process claims.
Keep an inventory of all damaged items, including furniture, appliances, and personal belongings. A detailed list aids both the insurance claim and the recovery process. An insurance adjuster will provide a written estimate for repairs after assessing the damage.
Thorough documentation ensures a smoother insurance claim process and creates a record that can help prevent future damage. This is crucial for understanding the full extent of water damage and planning effective repairs.
Remove Standing Water
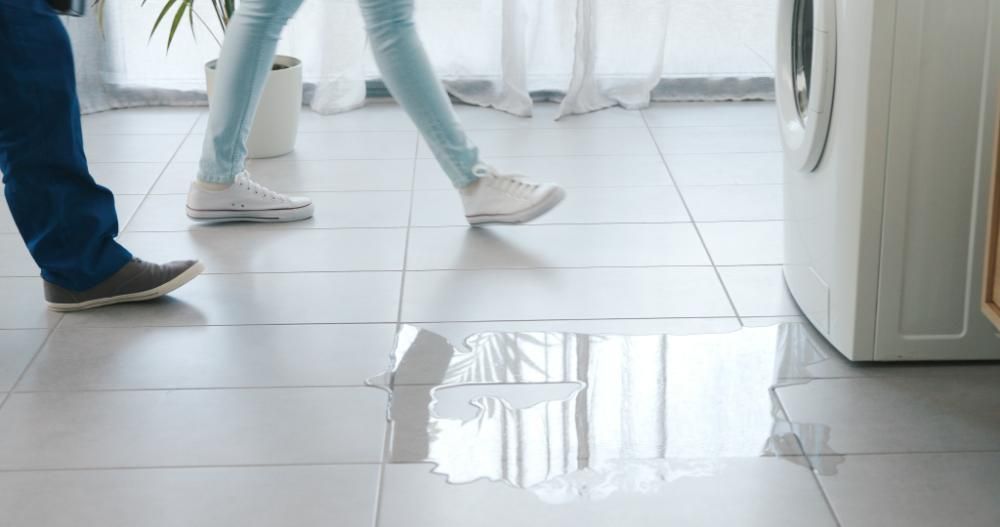
After documenting the damage, remove any standing water. This can be daunting, especially with serious flooding. Use a wet vac, towels, or buckets. For larger volumes, a sump pump is effective. Severe cases may require professional extraction equipment for proper removal.
Prompt removal of standing water is vital to minimize damage and reduce mold risk. Mold can start growing within 24 hours. If the water is contaminated, such as with sewer backup, wear rubber boots and protective gear to avoid contact with bacteria-filled water.
Check for pooling water in hidden areas like crawl spaces and behind walls. Eliminating all excess water is vital to prevent long-term issues.
Begin the Drying Process
With standing water removed, begin the drying process. Ventilate the area by opening windows and doors to improve air circulation. Use fans and dehumidifiers to speed up drying for both affected areas and salvaged items. Removing wall décor and coverings also enhances airflow and drying efficiency.
This step is urgent; mold can grow within 24 hours if damp materials are not dried. Thorough cleaning and drying are essential to prevent mold growth and ensure effective restoration.
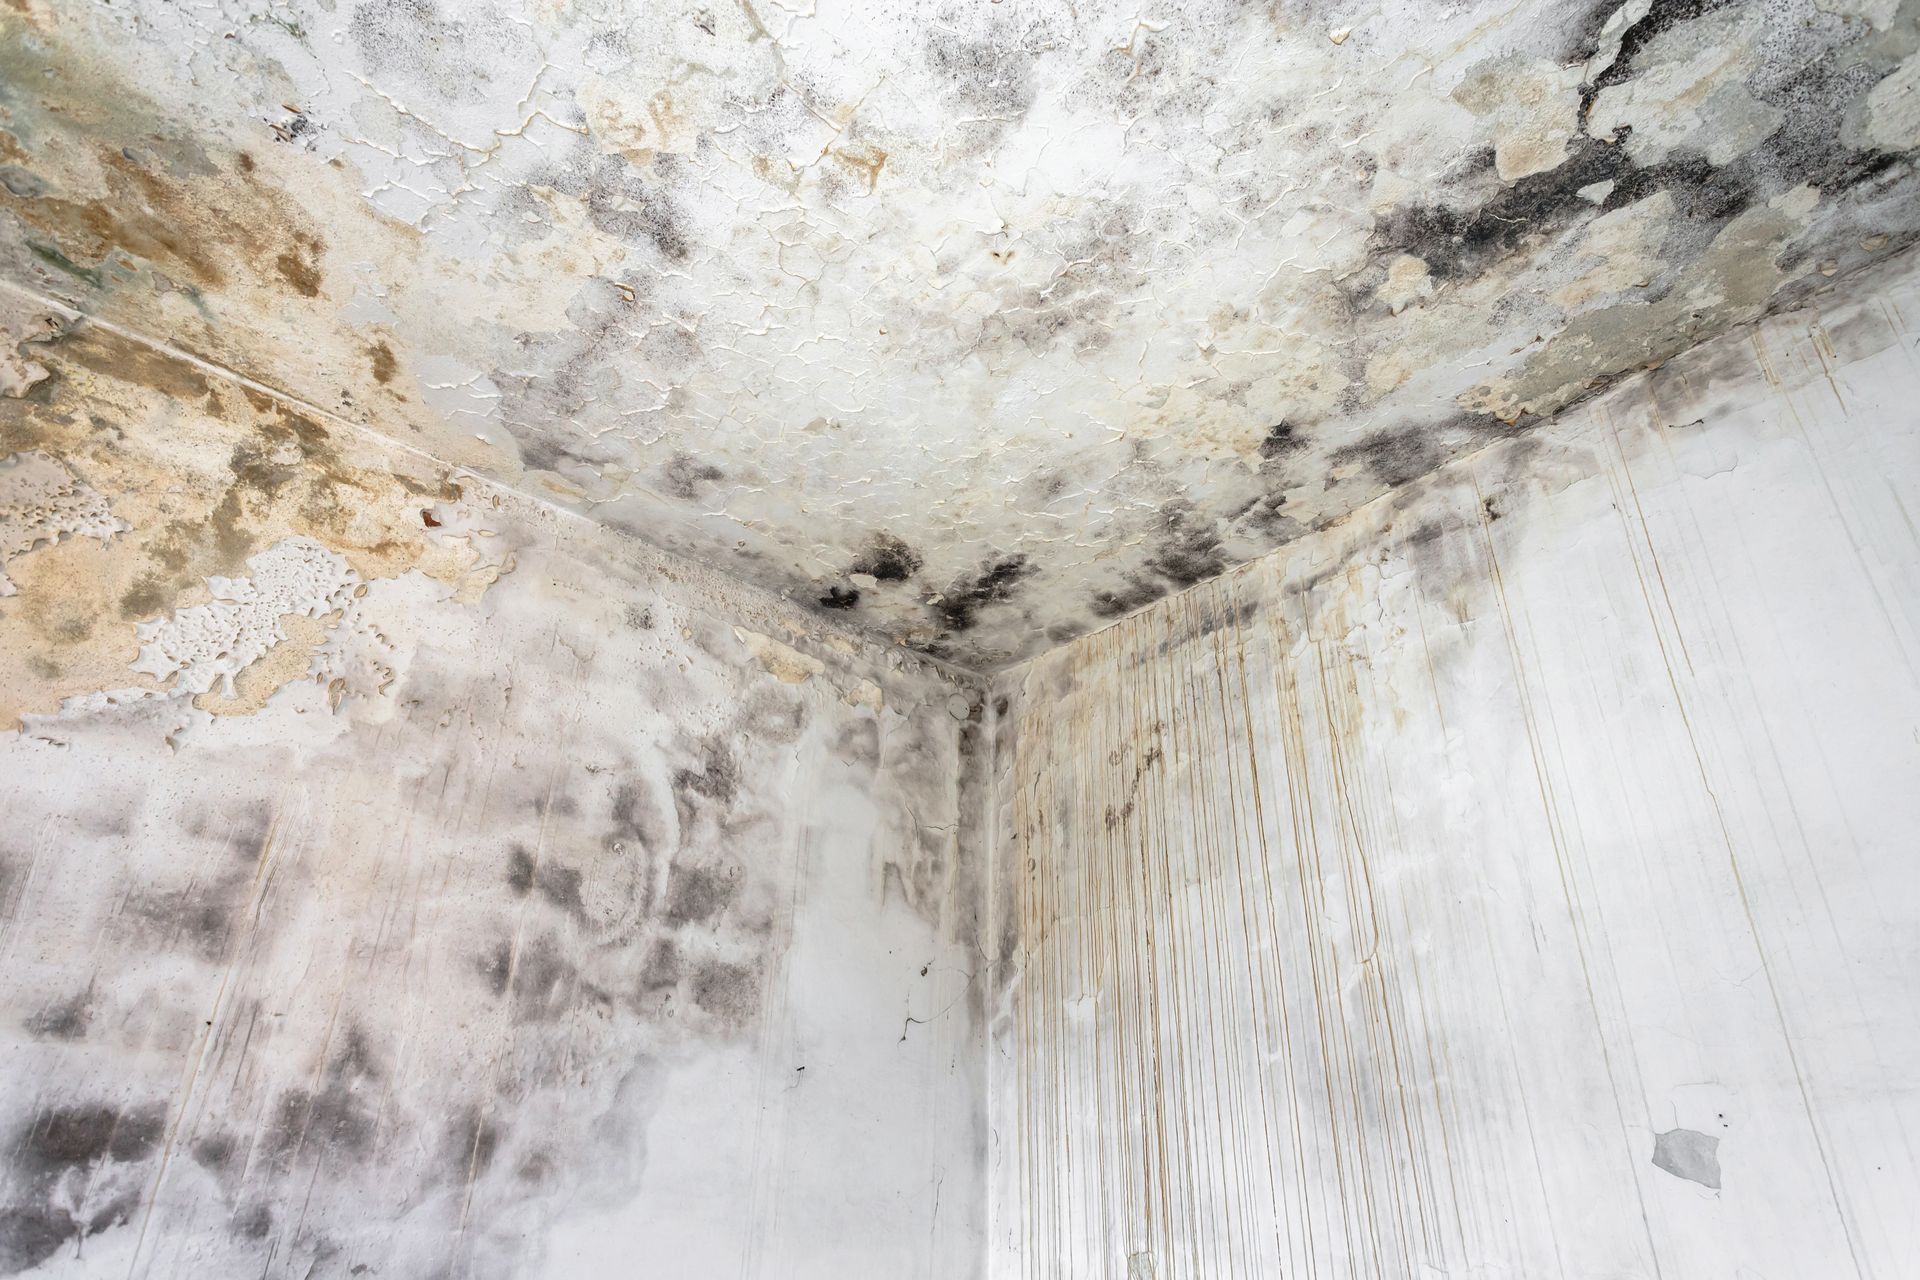
Inspect for Mold and Mildew
Mold and mildew can develop within 24-48 hours after water exposure. Inspect thoroughly behind walls, under floors, and in insulation, as these areas can harbor hidden water. Persistent musty odors can also signal hidden mold, indicating the need for further investigation.
For small mold issues, cut out the affected area, bag it, and discard it to prevent spreading. Early detection and removal are key to preventing more extensive and costly mold remediation.
Salvage What You Can
After addressing mold and mildew, assess what can be salvaged. Move damp belongings to dry areas to prevent further damage. Items like books, photographs, and soft furnishings can warp or soak through within the first 24 hours, so act quickly.
Remove drenched items to prevent them from leaking onto fixtures and flooring. Assess each item to determine whether it can be saved or needs to be discarded. This helps minimize the impact of water damage and aids the recovery process.
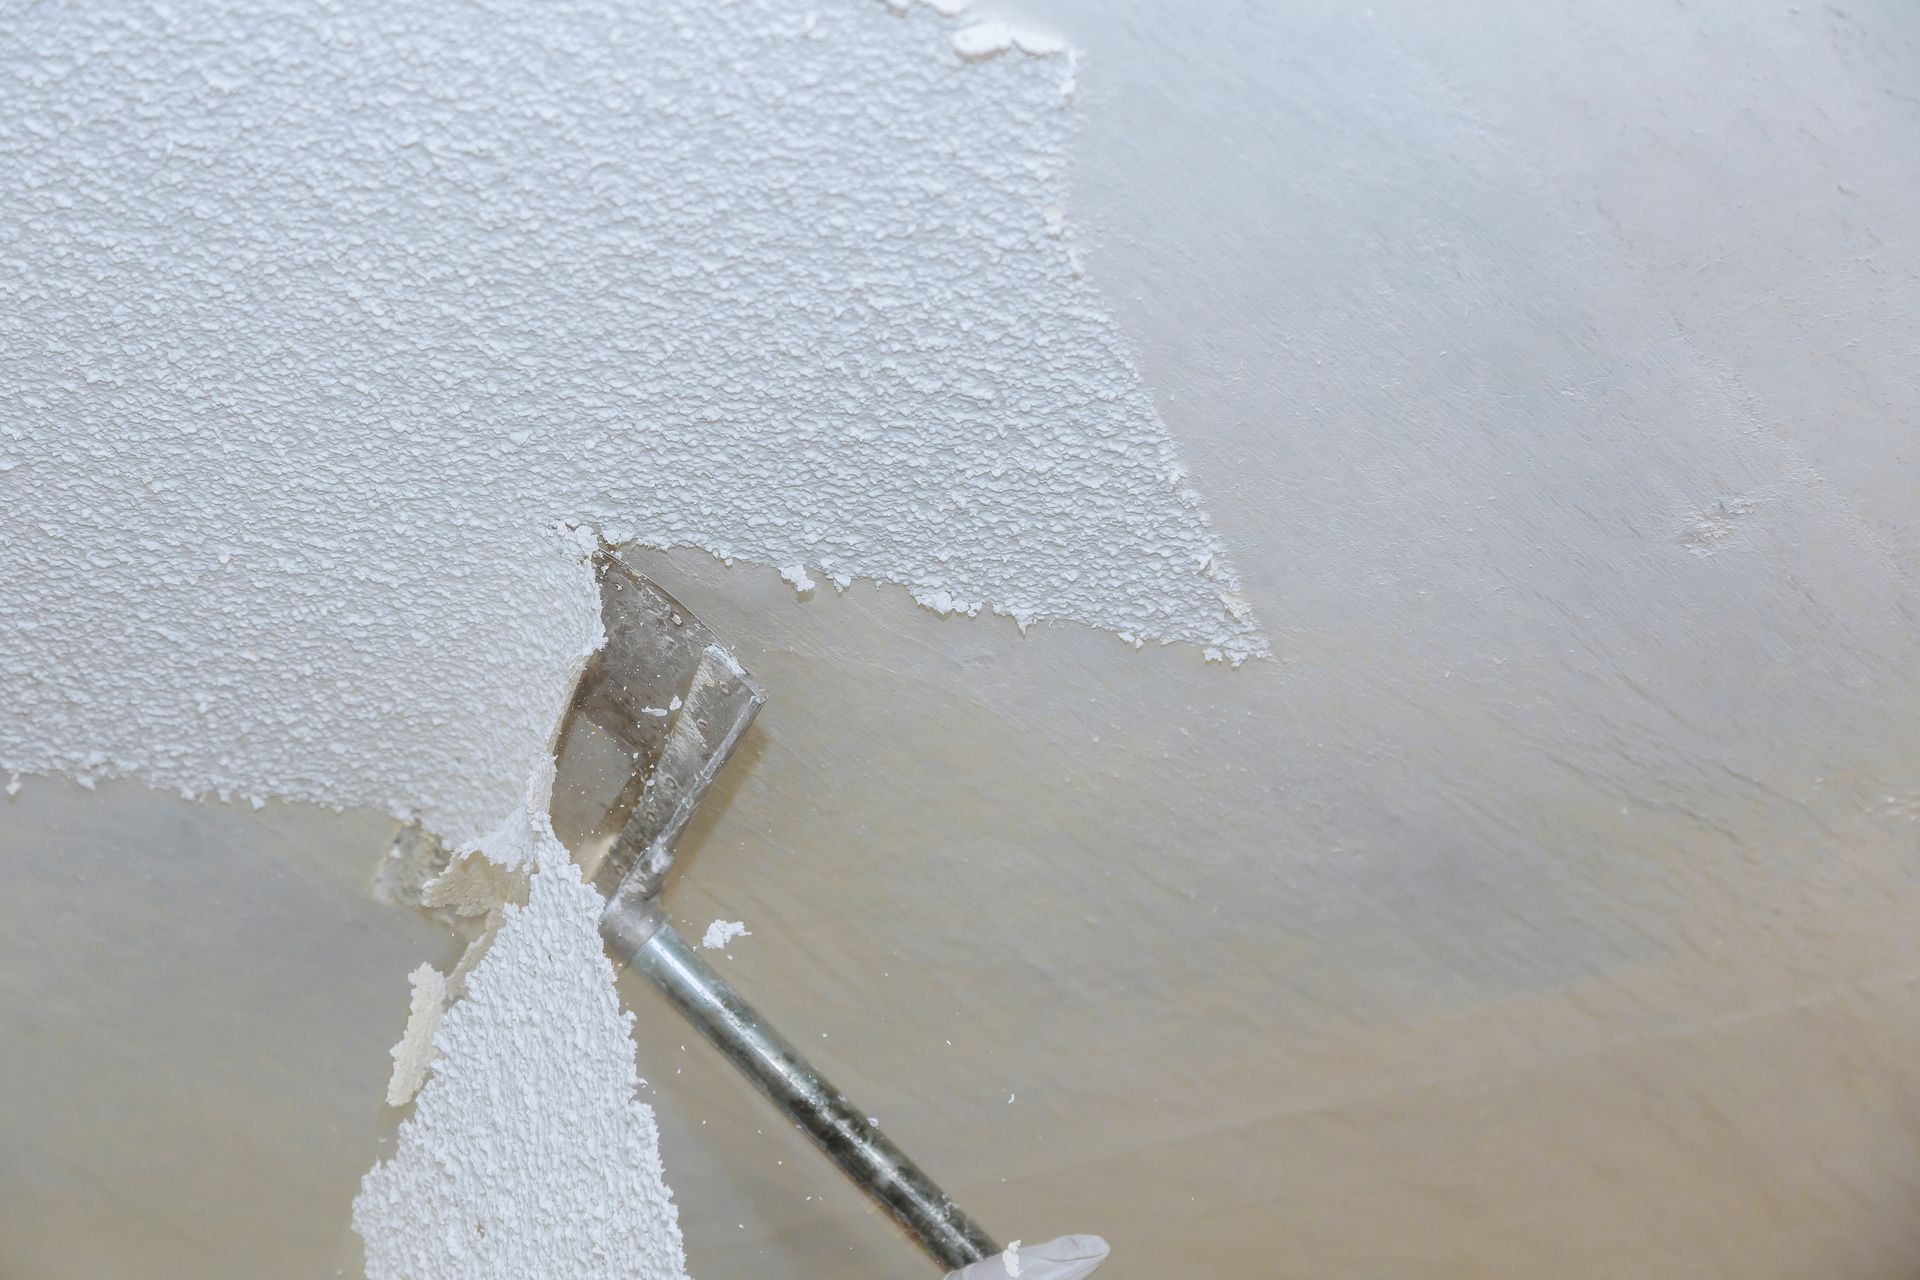
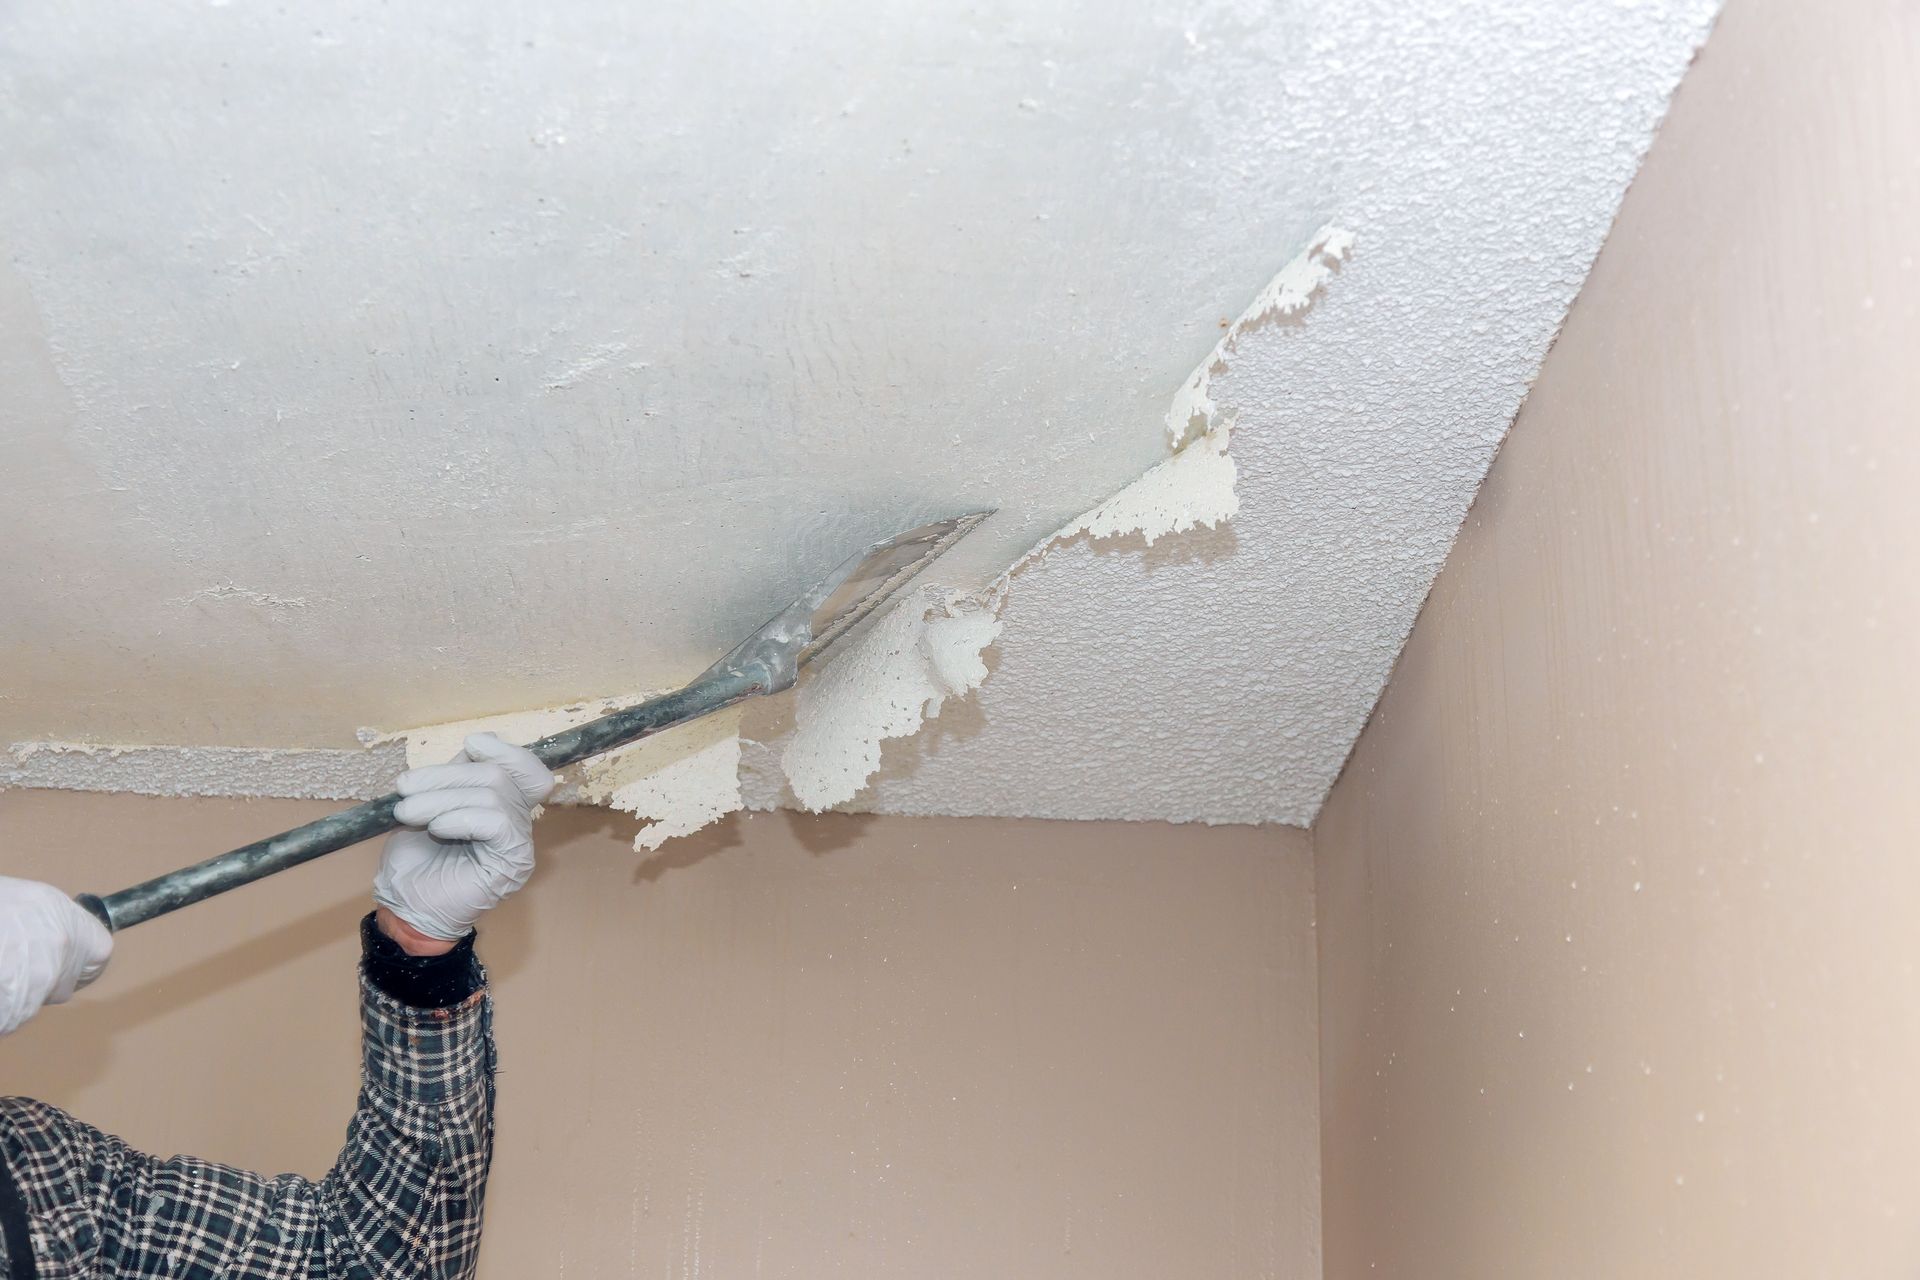
Remove Damaged Materials
After salvaging what you can, remove damaged materials. Discard porous materials like wet carpets, insulation, and severely damaged wood that cannot be effectively dried and sanitized. Replace severely warped, rotting, or mold-infested wood.
When porous materials like drywall absorb water, they can lead to mold growth and must be replaced. Removing these compromised materials is essential to prevent further damage and ensure successful repairs.
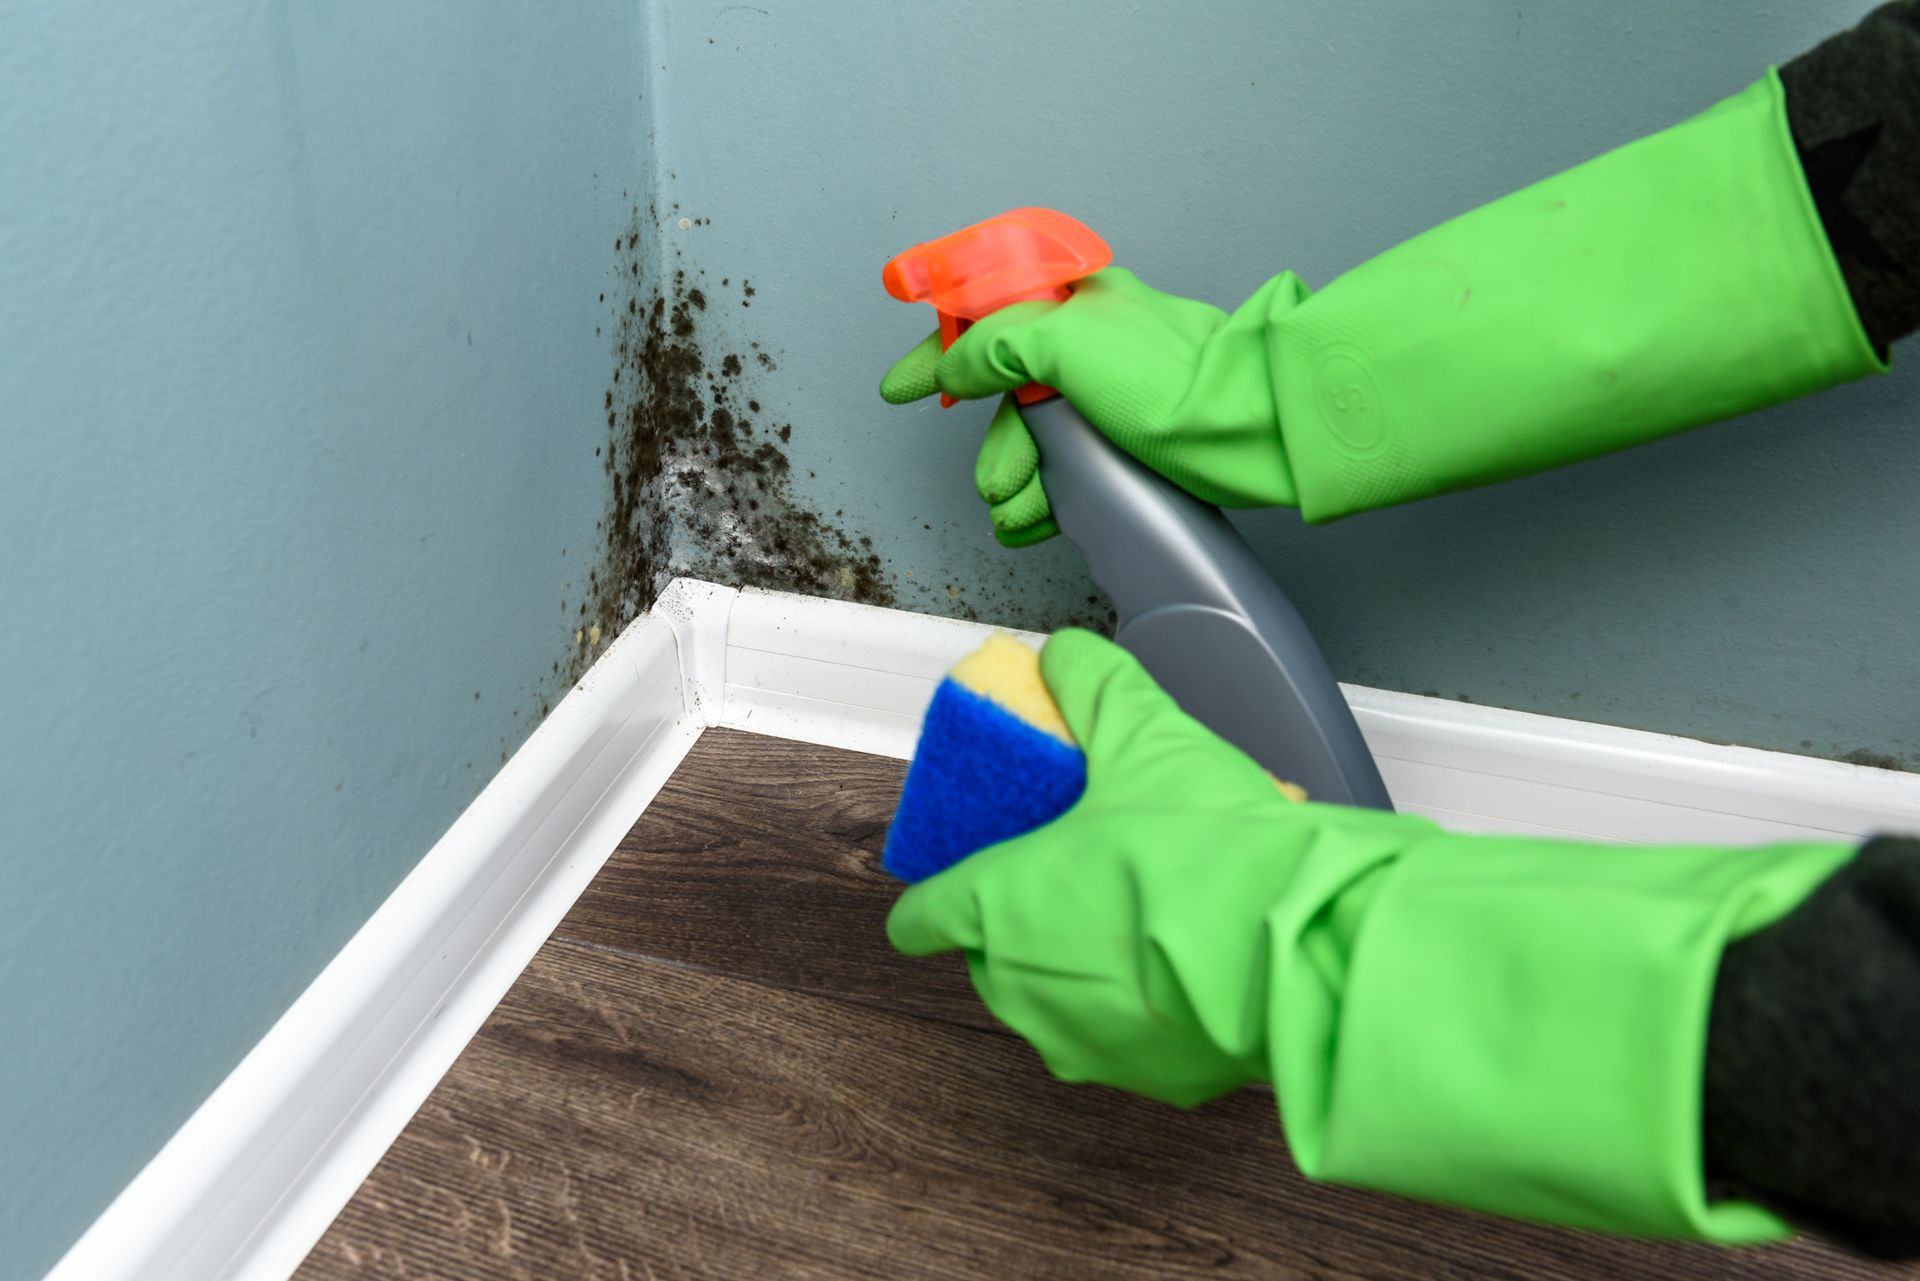
Clean and Disinfect Affected Areas
Cleaning and disinfecting affected areas is essential in the restoration process. Thoroughly clean surfaces with water and detergent to remove dirt and debris. After cleaning, apply EPA-registered disinfectants on non-porous surfaces to ensure safety and effectiveness.
Ensure disinfectants remain in contact with surfaces for the specified time to effectively kill bacteria and viruses. Avoid mixing bleach with other cleaning products to prevent toxic fumes.
Proper cleaning and disinfecting prevent mold growth and ensure a safe environment.
Check Structural Integrity
After cleaning and disinfecting, check your home’s structural integrity. Hairline fractures in walls and ceilings can indicate serious structural concerns. Signs of water damage also include discoloration, peeling paint, or swelling of drywall.
Inspect beams and rafters for structural damage, and check for cracks, shifts, or settling in the foundation. Water-damaged sub-flooring may appear spongy or sagging, indicating rot.
If you notice any of these signs, have a professional assess the damage to prevent minor issues from escalating into major structural failures.
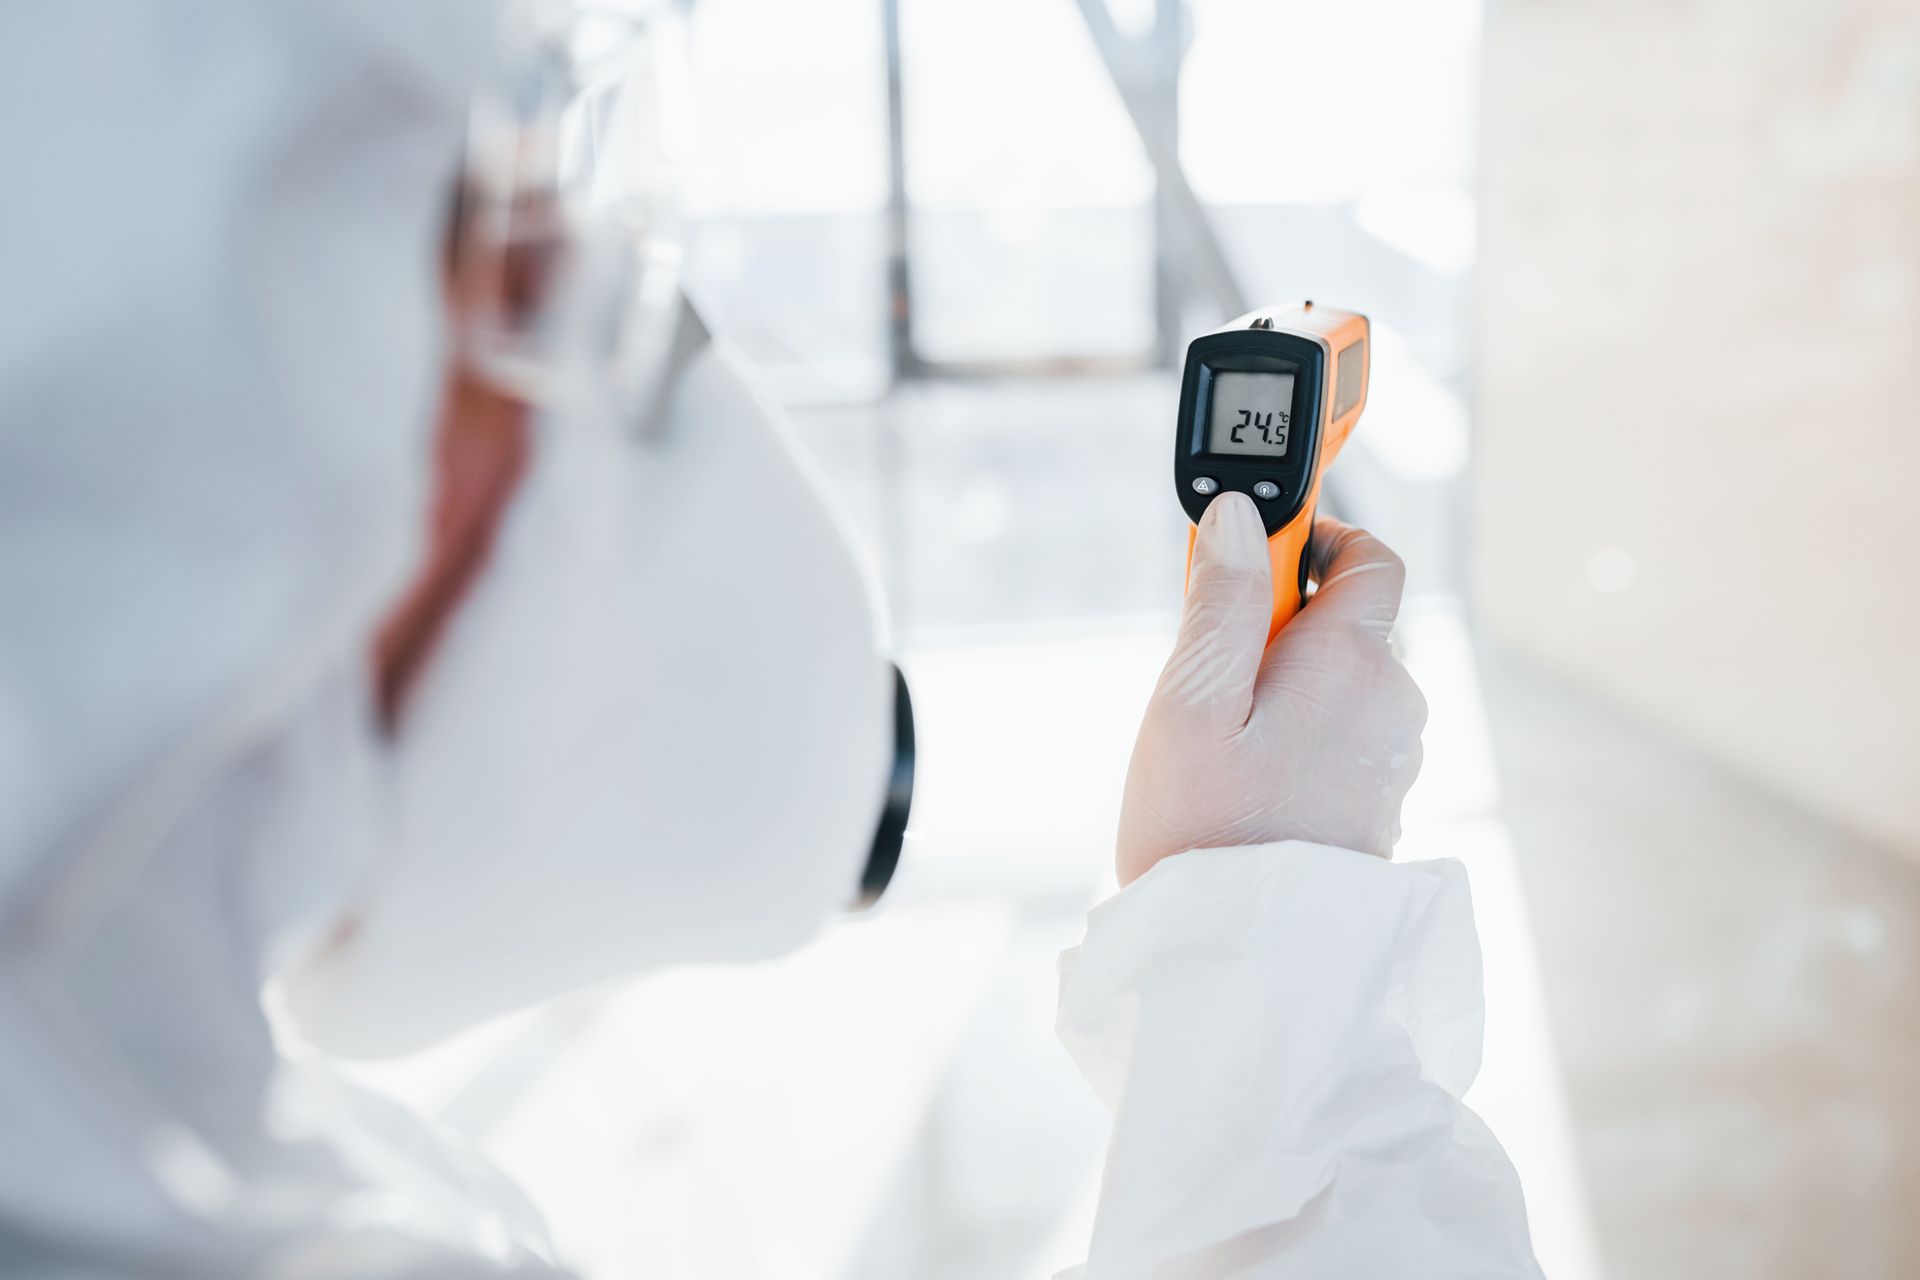
Call a Professional Restoration Contractor
For extensive water damage, call a professional restoration contractor within 24 to 48 hours. Professionals provide a thorough assessment and repair of the damage. They use advanced water mitigation technology and are certified to handle severe water damage effectively.
Hiring a professional restoration company ensures a thorough restoration process and reduces future problems. They can also help determine the cost of repairs for water-damaged ceilings and other affected areas.
Trusting professionals can make the overwhelming restoration process more manageable.
Prevent Future Water Leaks
Preventing future water leaks avoids repeating the ordeal. Regular visual inspections of plumbing can identify leaks or potential failures early. Installing leak detection sensors and automatic shutoff systems provides timely alerts and halts water flow when a leak is detected.
Maintain proper yard drainage and clean gutters regularly to prevent water from pooling near the foundation and causing damage. Keep your home heated during winter to prevent pipes from freezing and bursting, which can lead to severe water damage.
These preventive measures can save you from future water damage repair efforts.
Contact Your Insurance Company
After dealing with the immediate aftermath of a water leak, contact your insurance company promptly. Reporting water damage claims quickly avoids complications. Be honest about the damage; sudden events like a burst pipe are more likely to be covered by homeowners insurance.
Insurance companies often maintain 24/7 hotlines for immediate assistance with water damage claims. Repairs required by homeowners insurance may need to be done by a certified water damage restoration company, so follow their guidelines.
Acting fast is crucial for making an insurance claim and ensuring a smooth recovery process.
Monitor for Long-Term Issues
Even after thorough cleaning and repairs, monitor affected areas over the next few weeks. Watch for signs of mold growth or structural problems. Hidden water can create long-term issues, such as mold growth and damage to structural integrity.
Unattended water damage for more than a week can lead to increased restoration costs and efforts. Regularly inspecting the affected areas ensures no long-term issues arise and helps maintain your home’s safety and integrity.
Assessing the Situation
When dealing with water damage, it’s essential to assess the situation quickly and accurately. Start by identifying the source of the water leak, whether it’s a burst pipe, a leaky appliance, or another issue. Determine the extent of the damage by noting all affected areas, including any standing water. Check for signs of mold or mildew, as these can develop rapidly and pose health risks. This initial assessment will help you develop a plan for the water damage restoration process and ensure you take the necessary steps to prevent further damage.
Ensuring Safety
Safety should always be your top priority when dealing with water damage. If the water leak is severe or you’re unsure about how to proceed, it’s best to evacuate the affected area and contact a professional water damage restoration company. Be cautious of electrical hazards, such as exposed wiring or appliances that may have come into contact with water. Wear protective gear, including rubber gloves and a mask, to prevent exposure to mold spores and other contaminants. If you’re unsure about any aspect of the water damage restoration process, don’t hesitate to seek advice from a qualified professional.
Stopping the Leak
Stopping the leak is the first step in preventing further water damage. If the source of the leak is a burst pipe, turn off the main water supply to your home immediately. For leaks coming from a leaky pipe or appliance, locate the shut-off valve and turn it clockwise to stop the water flow. If you’re unable to locate the source of the leak or shut off the water supply, contact a professional plumber or water damage restoration company for assistance. Acting quickly is crucial, as excess water can cause significant damage to your home and belongings.
Documenting the Damage
Documenting the damage is crucial for insurance purposes and to ensure that you receive fair compensation for your losses. Take photos and videos of the affected areas, including any standing water, mold, or mildew. Make a list of damaged items, noting their estimated value and any receipts or proof of purchase you may have. Keep a record of all correspondence with your insurance company, including dates, times, and details of conversations. This thorough documentation will help you navigate the water damage restoration process and ensure that you receive the compensation you deserve.
Drying Out the Affected Areas
Drying out the affected areas is a critical step in the water damage restoration process. Start by using a wet-dry vacuum to remove excess water, then use fans and dehumidifiers to speed up the drying process. Open windows and doors to improve ventilation, and consider using a sump pump to remove standing water from a flooded basement. Be patient, as the drying process can take several days or even weeks, depending on the extent of the damage. Monitor the affected areas closely for any signs of mold or mildew. If you’re unsure about any aspect of the drying process, don’t hesitate to seek advice from a qualified professional.
Summary
In summary, dealing with water damage requires prompt and effective action. From identifying and stopping the water source to ensuring safety, documenting the damage, and removing standing water, each step is crucial. Starting the drying process, inspecting for mold, salvaging belongings, removing damaged materials, and cleaning and disinfecting affected areas are all part of the comprehensive water damage restoration process. Checking structural integrity and calling a professional restoration contractor can prevent minor issues from escalating into major problems. Finally, taking preventive measures and monitoring for long-term issues ensure the safety and integrity of your home.
Taking these immediate steps after a water leak can make a significant difference in minimizing damage and ensuring a smooth recovery process. Stay proactive, and your home will thank you.
Frequently Asked Questions
Share this Post
Recent Blog